Showing posts with label Self Sufficiency. Show all posts

June 10, 2012

So, about that bacon

I shared the first step of the bacon curing process here. When seven days had passed, I pulled the bacon from the weck jar that it had been curing in, rinsed it off so that no rosemary or salt were left clinging to the fat, and placed it on a baking sheet in a preheated oven set to 200 degrees. 


I used a digital thermometer to keep track of the internal temperature and when it reached 150 I removed it from the oven.


It would have been easier to cut if I had followed the instructions to let it cool first, but I just couldn't wait.  I used my bread knife to cut thick, even slices.  They were a little too thick, actually, but I will remember that for next time.


Then I fried up my pretty bacon slices in a skillet, on a lower heat to account for the great thickness.


It took a while, but eventually they were done!


I put the leftovers in the fridge for storage.


And we ate our home-cured bacon!


The subtle garlic flavor was pleasant, although some slices were a little salty for our taste.  I wasn't very strict with measurement when I combined the salt for the rub, but I also used a higher proportion of rub to meat than was called for: the recipe made enough rub for a 5 lb slab and mine was only 1.7 lbs.  The recipe that I followed suggests blanching the bacon before cooking if the saltiness is too overwhelming, which I might try next time.

PS. I didn't use sodium nitrate in my recipe, and you don't have to either!

June 4, 2012

Curing bacon


Last month we ate brunch at Balliceaux, which has a gorgeous interior with buttery leather seating and themes of nature running through an otherwise repurposed urban industrial space that makes me want to reconsider my decorating philosophy, but I digress.  Most importantly, they have a bacon menu.

They house-cure all their bacon and serve each slice with accompaniments. Applewood smoked bacon with nutella. Chinese five spice with orange marmalade. Garlic cured with olive oil.  Oh man, it's really good.

On Saturday I needed some bacon. At the farmer's market I checked in on the Root Force collective farm and they were selling unsliced, uncured bacon and I was feeling inspired to give curing a try.

I loosely followed this recipe for the rub, but chose a combination of salt, brown sugar, rosemary, garlic, cinnamon, and pepper.

I generously coated two pounds of bacon with the rub and then dropped the whole thing into a weck jar where it will sit for 7 days, until step two.


Have you ever cured your own bacon?

May 12, 2012

Backyard Garden 2012: Seedlings

For the last month or so, the garden space has been just a pile of dirt and Merritt and Roscoe have enjoyed digging for worms, rolling around in it, and driving their cars through it.

One morning early last week, Roscoe and I planted seedlings and now their dirt playground is off limits. Based on the antics of last week, I anticipate our biggest challenge this season to be to keep the kids and their trucks from trampling our food.

In the background is Andy's latest project: a playhouse for the boys!
This year's garden represents a modified version of what I had planned for, as we are still learning. We purchased most of our plants from the spring plant sale at Lewis Ginter. The farmers and gardeners were happy to share their knowledge and I learned that veggies like pole beans and sweet peas that I had planned to plant in May will likely bolt this late into the season, and that we'll have better luck planting them as fall crops in the late summer. Also, lettuce greens and carrots are best started from seed and planted in succession so that harvesting can occur on a weekly basis year round. The salad greens we have now may last for only a month or so, which will make room for something else as the season progresses. 

Herb pots
I like that gardening is an ongoing learning process, and I look forward to eventually cultivating a reliable combination of planting methods and crop variations to grow the kinds of food that we enjoy most, in predictable cycles throughout the year.

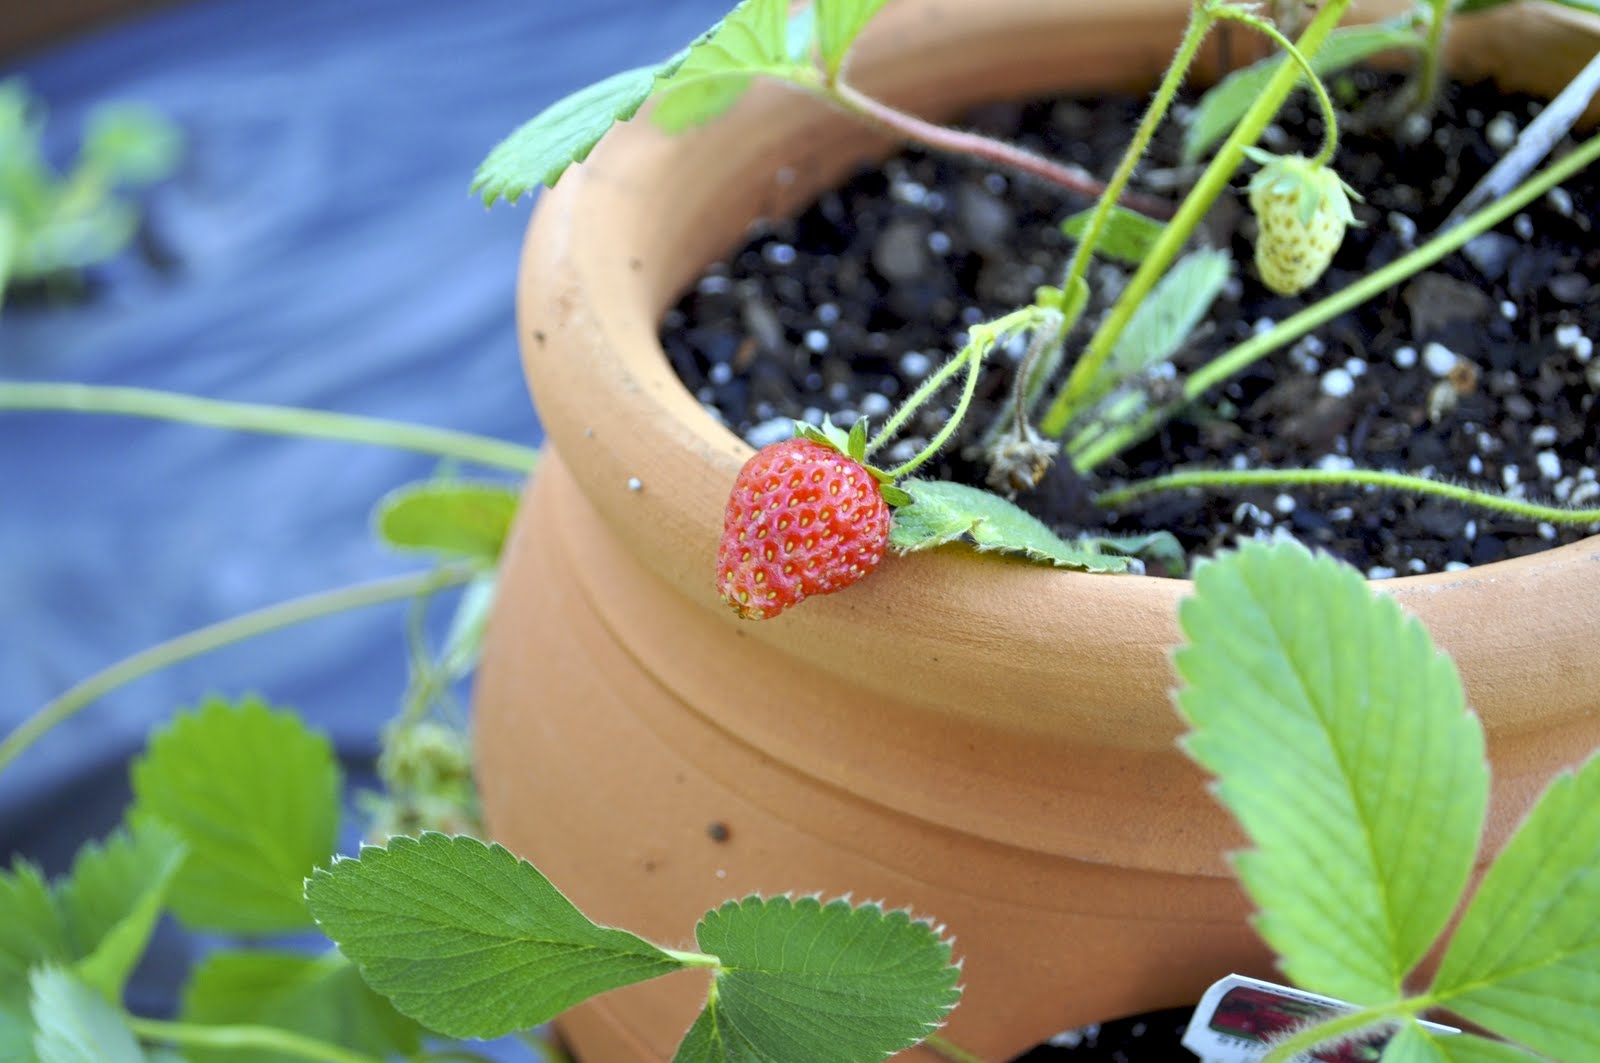
For now we have cherry tomatoes, yellow squash, heirloom tomatoes, zucchini, cantaloupe, watermelon, salad greens (tatsoi, mizuna, mixed leaf, and arugala), alpine strawberries; and herb pots brimming with mojito mint, peppermint, spearmint, dill, sage, parsley, basil, and rosemary.

April 6, 2012

Backyard Garden 2012: Planning


We dug up a small garden plot in the sunniest part of the yard two weekends ago--this year we're doing three 3' x 12' rows and probably another little section somewhere for root vegetables.  We have to till in the top soil on Saturday and then later this month we'll purchase our seedlings.

I would have liked to start heirloom seedlings over the winter but with the move we didn't have time to make it happen. Hopefully next year. We're looking forward to two plant sales, one in late April and the other in early May, and I hear that heirloom seedlings will be available so that's where we're going to start.

Our first attempt at growing our own fruits and vegetables was pretty awesome, and did not require a huge investment in time once the beds were built and the seedlings planted. We grew more food than we could eat, and by August we were knocking on our neighbors' doors to relieve us from all those tomatoes, zucchini, and yellow squash. Mmm, speaking of squash, remember those fried squash blossoms?

This year, I want to strategize a little more and learn how to succession plant and also figure out how and when to plant the right stuff so that we can have produce year 'round.  I've been playing with an online garden planning tool that is region specific and factors in average frost dates and plant growing times. I drew out my garden area and then "planted" it with the different fruits and vegetables that we hope to grow. The program creates a plant list based on what I've put in my garden, which tells me how many plants I need of each variety, how close to space them, when to plant, and when to harvest. There are some really advanced features that help me to visualize succession planting, but I haven't quite figured them out yet. Here's what our garden plan looks like so far. The yellow block is a shed.


Do you have plans to grow any food this year?

October 21, 2011

Food Dehydrator: the new kitchen appliance

At the peak of the season, when our little garden was posing a real challenge to keep up with a formidable abundance of cherry tomatoes and squash, I decided to buy a food dehydrator. 

The Excalibur was delivered to our doorstep in less than a week. After we got over the amount of counter space that it covers, we developed adoration for the endless possibilities and marveled at the act of putting one thing in and getting another thing out.


In the last month of Summer, the low hum of that big black box serenaded the kitchen and the entire first floor of the house.  In addition to tomatoes, and with a carton of citric acid by my side, we've since dried figs, plums, and apples. Last week we made sweet potato "fries" and yesterday I finished drying marjoram, sage, and rosemary.  It is all too simple. And way more fun than I anticipated.

I'm enjoying the practicality that comes from making our own fruit snacks and preserving in-season produce for later use, and I like how it contributes to our bigger aspirations to bring wholesome and unprocessed foods to our plates.  

August 22, 2011

Cheese

I never considered cheese-making to be an extension of cooking, but lately I've come to think of it that way. I read about Ricki Carroll in the memoir Animal, Vegetable, Miracle. The Cheese Queen, as she is called, has been teaching novices how to make cheese for over 30 years. I ordered some basic supplies from her website the New England Cheese Making Company and at the end of last week finally found time to try my hand at making homemade mozzarella.
I came home from the gym at 7:30am, slung Merritt to my front, and dumped a gallon of organic whole milk into my stockpot. I was skeptical as I mixed in the citric acid but with some heat and agitation the whey started to separate from the curds! I let it sit for a few minutes, cut the curds, poured off the whey, added the rennet, heated and stirred it some more then scooped all the curds out of the pot and into a strainer. In another pot of hot water, I bathed the curds until they were warm enough to stretch (the fun part!) and pliable enough to mold into an imperfect ball.

Mozzarella in 30 minutes! We cooled it in an ice bath, wrapped it up, and saved it for dinner.
Our cheese had a flavor similar to store bought string cheese. Our first attempt was a success but, sadly, did not result in the tender milky mozzarella balls that we usually buy. The nuances of each batch can be manipulated at each step in the process, so I'll have to try it again. Ricotta cheese is another quick cheese to make, and would pair well with the boxes of farmer's market peaches and plums we have lying around in the kitchen.

August 1, 2011

Who wants to join me?


August 13th is Can-It-Forward Day.

We've taken up the locavore scene in our area and it seems that eating seasonally goes hand in hand with knowing how to put up food for the winter.

We buy our meat from a farmer who owns Walnut Hill Farm at Elm Springs in Falmouth, Va. Every Sunday, under his tent at the farmer's market, I pick Jeff's brain on topics that range from the seasonality of chicken, to harvest routines, and even the feasibility of buying half of a cow for our freezer. Jeff is a kind man, and doesn't seem to mind my naivete. This past weekend when I mentioned an interest in learning how to can food he generously offered to teach me how to do it. A canning 101 class, you could say. And he told me to bring a friend or two to make it legit.

If you're curious about what canning is all about, and want to learn from a seasoned pro, AND you're up for a field trip to a farm to get your canning on, let me know. We're meeting up in the early morning of August 15th. I'm bringing boxes of peaches, tomatoes, and string beans (and whatever else I can find at the farmer's market on the 14th), along with a few crates of canning jars. I'm inviting you to do the same.

This is an exciting opportunity, and it's free! Leave a comment or send me an email at marblesrolling@gmail.com if you're interested and I'll share the details.

May 10, 2011

Momma's Garden

For a long time I've been pining for a small plot of earth to grow something good to eat. For the past few weeks we've been gathering the things we need to turn an otherwise useless bit of land in our small yard into a full fledged garden. Originally I had decided that pots were the way to go, but Andy convinced me that a small raised garden was actually possible.

Everything came together on Mother's Day weekend, and by the time the sun had set on Sunday our little sprouts were snug in their bed.

Here's what we did:

Andy spray painted an outline of the garden perimeter. Then he used fiberglass profiles to create the walls of the bed. He dug trenches to establish the depth of the bed and to ensure that all the walls were level.
He drove stakes into the ground to support the walls, and brackets to connect each side.

Then he lined the inside with commercial WeedStop fabric.

We filled our bed with 40 bags of topsoil and 20 bags of garden soil. Then mixed it up.


A new early morning ritual--these plants are thirsty

Then we stretched another (cheaper) weedStop layer across the entire bed, and cut holes into which we planted each seedling. This extra step not only prevents weeds from taking space and nutrients from your veggies, but it also serves to trap heat which the plants love--or so I've heard.

I used the Virginia Cooperative Extension to research the best plants for our climate and region, as well as to know which plants were in season, and how best to layout the garden. This Vegetable Planting Guide pdf was the most helpful. In our small space we planted about 25 seedlings, each 2 feet apart. We decided to plant cherry tomatoes, sweet peas, zucchini, yellow squash, yellow peppers, cucumber bushes, watermelon, and cantaloupe.

On a separate morning, Roscoe and I planted our pots: strawberries; spearmint, peppermint, and mojito mint; and sage, rosemary, cilantro, parsley, and basil. I'm already looking forward to mint lemonade, and peppermint tea.

All that's left is the landscaping around the bed. We've been told that marigolds will attract bees, which will help to pollinate our plants and hopefully ensure a good harvest.

I am loving having a reason to go outside, and to hang out in our backyard. We've already learned the value of having a small space out of doors--we've spent more time getting our hands dirty together, and chatting with our neighbors in the last three days than we typically do in a month. There are few things that make me happier than the simplicity of growing food to enhance family and community dynamic. I feel like this garden is just the start to an amazing summer ahead.

Yesterday afternoon Merritt snoozed with the dog, while Roscoe and I tended to our plants.

April 25, 2011

Our daily bread

As detailed in this quasi-new year's resolution post, we've sought small changes in the way that we live on a daily basis in order to better align our lifestyle with our values and bring us closer to living the kind of life that we aspire to, despite a less than ideal housing market.

We found time to address some of our mini goals before Merritt was born, but we didn't get to everything, and being home over the past month has made it easy for me to focus in on the details of what happens here, which in turn has provided more motivation for improvement.

I've been making steady progress on the list of action items that we initially identified, and I would love to share more about the individual changes that we've made (like banning the tv), but this post here is about bread!


Cinnamon Raisin


White Sandwich


Whole Wheat

We consume a fair amount of sandwich bread in this house, and I thought it was a great idea to learn to bake the kind of bread that we eat on a regular basis. I've always been just a little shy about baking anything that requires the use of yeast as a leavening agent. I never could get it just right (I've since learned that yeast doesn't need hot water to proof, it's really much happier at lukewarm).

So, we've identified three winning recipes that now serve as our staples, and we've woven their baking into a weekend ritual that satisfies my need to keep the belly's in this house full, while offering anyone who wants to join in the opportunity for family cooking.

I love everything about warm yeasty breads rising and baking on a Sunday morning.

Here are the recipes:

November 10, 2009

Recipe #8: Fresh Egg Pasta (in pictures)

I admit to skipping around some because I'm finding it difficult to cook while entertaining Roscoe, and deflecting his curious little paws from dipping into and tasting everything in sight. Lately I've resorted to cooking while Roscoe sleeps, but even recipes that seem easy, like Waffles--which were next on the list--call for stiff egg whites whipped in the stand mixer.

So, I've happily moved on from quickbreads to pasta, rice, couscous and polenta. I promise to return and make those waffles and blinis later!

With Roscoe sleeping soundly, Andy and I escaped to the kitchen and made like we were in Italy.

We decided to do it the old fashioned way and make our pasta by hand, at least for this first try (and we will have PLENTY of opportunities in this chapter to hone our skills), but it can also be done in a food processor. Instead of mixing directly on the counter-top, which would have felt more organic, I mixed it in a bowl to save Andy from having to scrape little bits of dried egg dough off the counter for the next week. Unfortunately, when all was said and done, every surface was covered in flour of one form or another.

Step #1: 6 eggs and two tablespoons of olive oil in a well dug into 4 cups of flour


Step #2: Mix the egg mixture, slowly adding flour until you have a nice shaggy ball


Step #3: Use the pasta maker to knead the dough

Step #4: Cut the pasta

I opted to hand cut the dough, which turned out ok for some of the sheets, but not so much for the others. We ended up using the pasta cutter to cut the other half into Fettuccine and Linguine.


When we first started to knead the dough, it was sticky, breaking, and rolling out with a lot of holes. We just added more flour and kept trying. In the end, we decided we didn't really care what the pasta looked like since we really just need something over which to pour the cream, porcini mushrooms, and cheese that we'll be using to make the sauce. We may have over kneaded the dough, but we'll have to wait until tomorrow night to find out!

FYI: Fresh pasta is made with low gluten flour and eggs--egg pasta becomes brittle when dried--so dried pasta is made with high gluten flour (durum) and water, which is perfect for storing in your pantry.
Related Posts with Thumbnails